
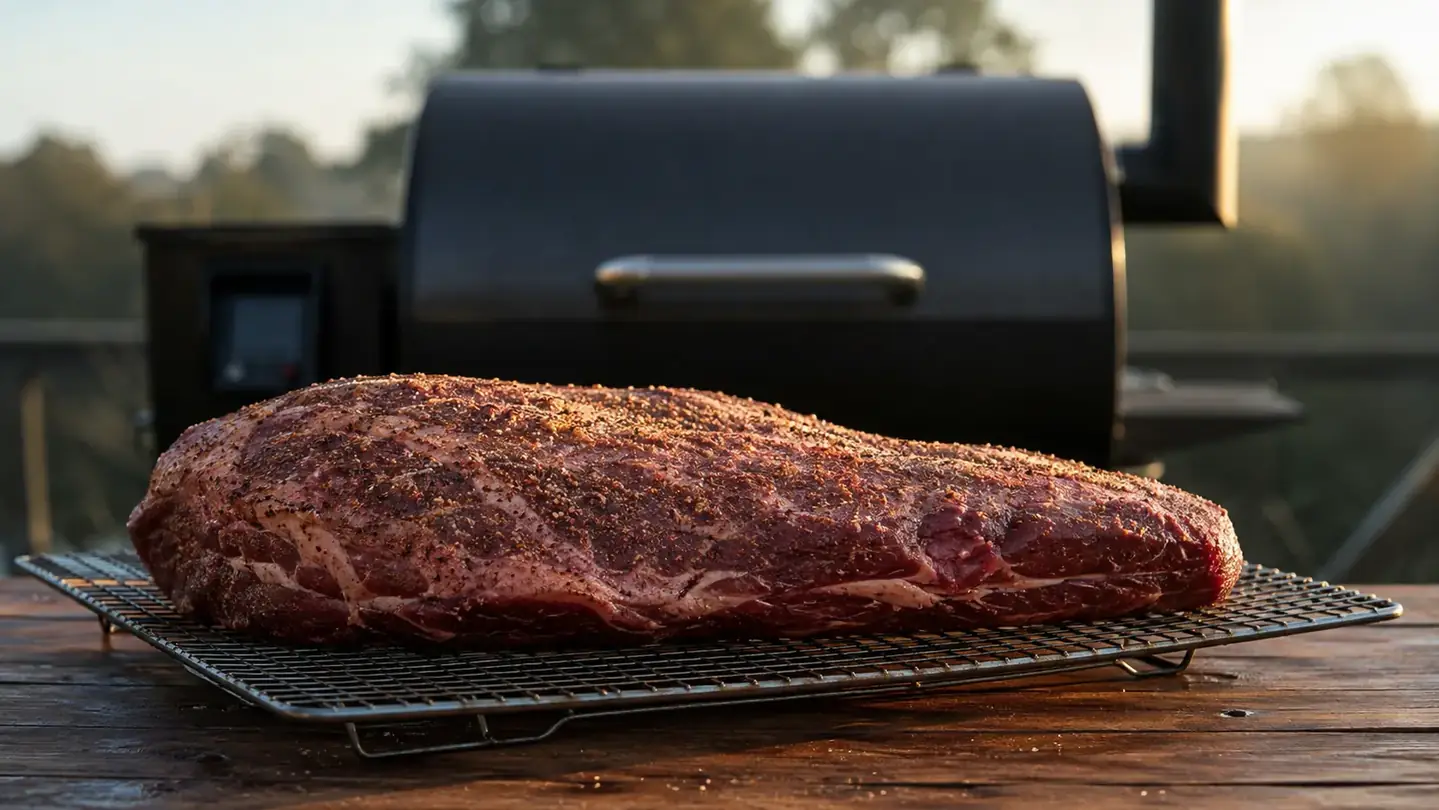
The first time I dragged home a full packer, I did what most people do: read eight recipes, watched a guy with a stick burner sweat through twelve hours, then set my thermostat to 225 and checked on it like a nervous father. It came out edible. It also came out tough in the flat and dry in spots, and I spent the whole day hovering over a grill I should have trusted. That was the year I learned brisket on a pellet grill is less about babysitting and more about doing five simple things right and then getting out of the way.
Here is the whole method, start to finish, the way I run it on my Traeger Pro 22. You do not need a hundred gadgets. You need a clean pellet fire, a couple of good thermometers, butcher paper, and the patience to let the meat finish on its own terms. If you want to follow along with a specific machine, the Traeger Pro 22 is the one I reach for; it holds a steady 250 without me re-tuning it halfway through a cook, and the built-in probe port means one less wire in the way. I am going to give you the steps I use, and I am going to leave the showman's flourishes out of it, because a brisket does not care how impressive your setup looks.
The Right Tool Keeps an 18-Hour Cook Simple
A pellet grill that holds its temp through the stall is the difference between a lazy Sunday and a stressful one. The Traeger Pro 22 keeps a steady fire and has room for a full packer without crowding.
Amazon Check Today's Price on Amazon →What You Actually Need (and What You Can Skip)
Keep the shopping list short. A whole packer brisket in the 12 to 14 pound range, coarse salt and black pepper, yellow mustard to hold the rub, butcher paper, and a probe thermometer for the meat. The Traeger has a built-in meat probe, which is plenty; I also keep a wireless probe handy because I like to walk away during the stall without dragging a cord across the yard. Add a couple of good heat gloves for the rest and you are done. The rest of the drawer is optional.
Skip the brine, skip the sugar-heavy rub, and skip the fancy injection for a first cook. The single biggest mistake new pellet guys make is piling on flavors before they have learned to make the meat itself. Salt, pepper, mustard, a clean fire. That is the whole recipe, and it is the whole recipe for a reason. If the meat is dry or the bark is soft, more seasoning will not fix the technique. Figuring out the bones of the cook first is how you set yourself up to be left alone to work at your own pace, which is the whole reason most of us buy a pellet grill to begin with.
Step 1: Trim the Brisket the Night Before
Pull the brisket out of the fridge, unwrap it, and give it about an hour to take the chill off while you work. Grab a sharp knife and trim the fat cap down to about a quarter of an inch across the flat, and listen to what the knife is doing. That thick, rock-hard chunk sitting on one corner is the deckle fat, and it does not render; slice it off and save it for a batch of burger. Trust me, the grill cannot fix what the trim did wrong.
Trim any dry, discolored edges on the flat so you do not chew through a leather belt at the end of the cook, and square the flat up a little so it cooks evenly. Do not obsess over a perfect rectangle. You want a brisket with a fairly even thickness and no high, chewy cap of hard fat. Season it that same night, mustard first so the rub sticks, then a layer of coarse salt and cracked black pepper. Wrap it tight in plastic and let the salt work while you sleep.
Salting the night before is not a foodie flourish, it is a do-not-fail step. The salt seasons deep into the meat rather than sitting on the surface, and your bark sets faster with less sugar in the rub to burn. By morning the surface should look slightly wet, which is your sign the seasoning has started to pull moisture out and reabsorb it. That is exactly what you want to put on a 250 degree fire. Give the trim time the night before and the morning becomes unhurried instead of frantic, which is the mood you want for a long cook.
Step 2: Fire the Grill and Let It Settle
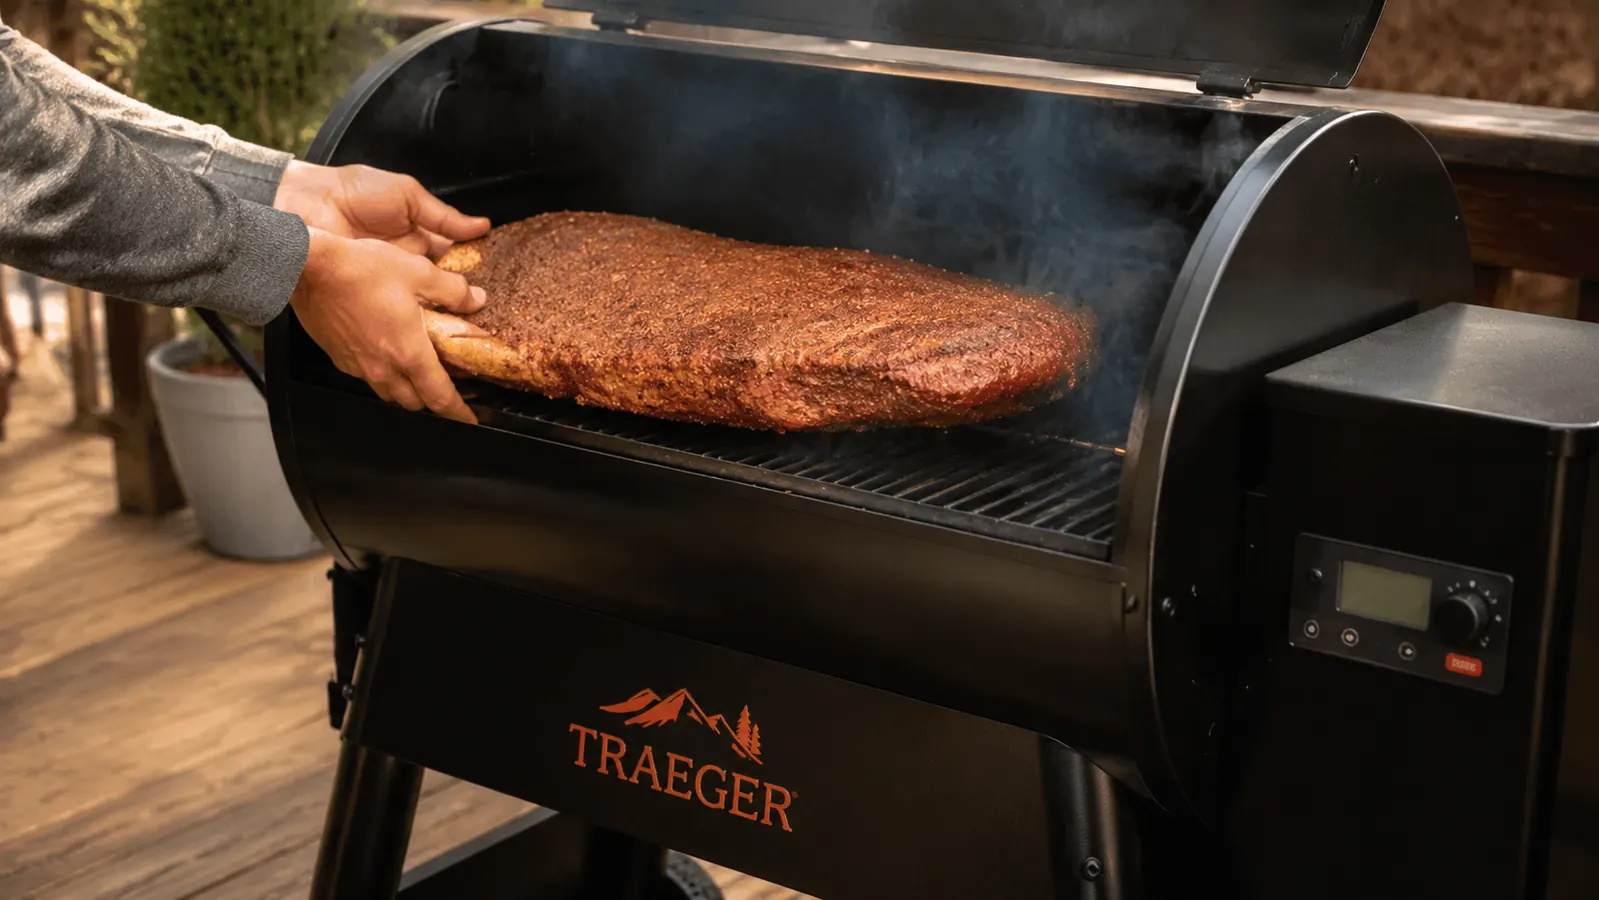
About an hour before you want to cook, open the lid, empty the hopper of any stale pellets left over from last weekend, and load fresh ones. I run hickory and oak for brisket, and I aim for a clean, gray-smoke fire, not a rolling white plume. Fill the water pan if your grill has one, then set the temp to 250 and let it come up and hold for a full thirty minutes before the meat goes anywhere near it. A grill that has not settled will spike and swing on you all afternoon, and a swinging grill fights every other step in this recipe.
On the Traeger Pro 22 the controls are straightforward enough that you set it and forget it. The payoff of a pellet grill is exactly here: you are not feeding a stick burner, so the temperature does the staying for you. Your only real job this hour is to make sure the fire is clean and the grate is hot, then put the brisket on fat side up so the rendering fat keeps the flat from drying out. Start it early, let it settle, and the rest of the day is on the machine, not on you.
Step 3: Smoke at 250 Until the Stall Bites
Put the brisket on fat side up and close the lid. Do not open it. The single hardest habit to break with a new pellet grill is the urge to peek, and every peek drops the temp and pushes back the cook. Set your meat probe into the thickest part of the flat, set an alarm at about 165 internal, and go do something else. Mow the lawn. Call your brother. The grill is doing its job and your job now is to leave it alone.
A 12-14 pound packer at 250 will run roughly an hour per pound, but the number that matters is the meat temperature, not the clock. Somewhere around 160 to 170 degrees, the internal temp stalls, sometimes for two hours or more, while connective tissue renders. This is not a broken grill and it is not your knob setting. It is the stall, it is normal, and it is where the tenderness actually happens. Every new pellet cook panics here and cranks the heat to 'fix' it. That is the fastest way to dry out a brisket.
The other thing that happens in these first hours is the bark. You will watch the exterior go from wet seasoning to a dry, dark crust that finally turns nearly black and sets stiff. That bark is your flavor and your texture, and it forms because the surface dries out in the steady heat while the inside stays low. A clean fire at a steady 250 gives you bark without burning it. Resist the urge to add a smoke tube on top of a pellet grill that is already smoking; more smoke here mostly means bitter, not better.
Step 4: Wrap in Butcher Paper at the Stall
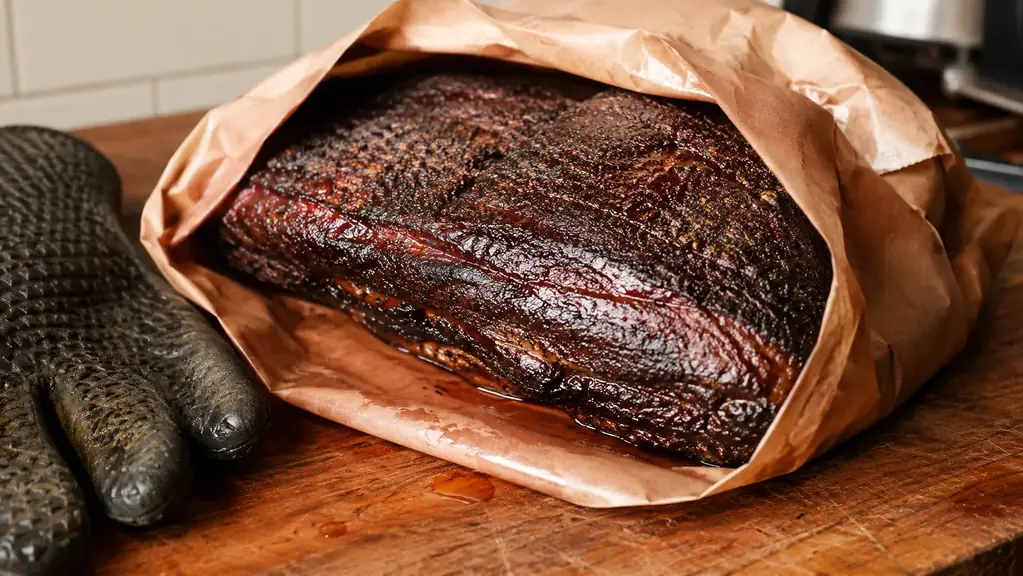
When the probe reads around 165 to 170 and you can feel the stall has set in, pull the brisket, lay it centered on a big sheet of unwaxed butcher paper, and wrap it snug like a tight present. Fix the paper with a couple of butcher's twine loops if you want it extra snug. The point of the paper is to hold in the moisture so the brisket can push through the stall faster than it would in open air, while still letting a little steam escape so the bark does not turn to mush.
Put it back on fat side up, reinsert the probe through the paper (or leave the probe in and wrap around it), and this time set the alarm at 203. You are looking for the flat to probe like room-temperature butter, and on most briskets that lands somewhere between 200 and 205. The Traeger holds this back half of the cook the same as the first, so once the paper is on, you are again free to walk away and let it climb. From here the meat is doing the work, and the only discipline left is waiting for the probe to tell you it is done.
Step 5: Pull at 203 and Rest for a Long, Long Time
The resting step is where my early briskets went to die. I used to pull at temp and slice within twenty minutes because I was hungry and proud of the bark. Do not do that. When the flat probes like butter, pull the wrapped brisket, set it on a wire rack over a rimmed pan, tent it lightly, and let it rest at room temperature for at least an hour before slicing. If you can push it to two hours, do. The juices need time to redistribute through the flat, and that rest is what turns a good cook into a great one.
Slice across the grain, about a pencil-width thick, and do not chase perfection on the point. The flat is the forgiving, sliceable part; the point is the fatty little crown that falls apart like pulled pork. Separate the two by finding the fat seam between them, and slice the point across its own grain. If you nail nothing else, you have nailed the two things that make a brisket: a probe-tender flat and an unhurried rest. Fold the slices onto a board, let them sit in their own juices for a minute, and then you have done the thing.
What Else Helps
Three small things make a real difference once you have the rhythm down. First, keep a steady hand on the pellets: a half-empty hopper is the classic mid-cook surprise, and running out while you are in the stall is a cold-fire crisis you stop worrying about with a big hopper and a full load. Second, resist the urge to oversmoke. On a pellet grill the hardwood pellets do the smoking, so you do not need a smoke tube fighting for attention on top of it; a clean, steady fire at 250 is already giving you real flavor. Third, write down your numbers. Internal temps, start time, rest time, wood. The brisket that surprises you a third time is the one you never logged.
If you want to go deeper on why a pellet grill earns its keep on a long cook, my piece on the reasons a pellet grill smokes better than you think walks through it in detail, and the long-term Traeger Pro 22 review covers seasons of real use. For a first brisket, though, the lesson is one line: clean fire, steady 250, probe the flat, and rest it longer than feels necessary. Show yourself once, then leave yourself alone to work at your own pace, and the brisket does the rest.
The stall is not a broken grill and it is not your knob setting. It is where the tenderness actually happens.
Stop Watching the Thermostat and Start Trusting It
The whole method gets easier when the grill holds temp on its own. The Traeger Pro 22 brings a steady 250-degree fire and a built-in probe, so the next brisket is mostly waiting, not hovering.
Amazon Check Today's Price on Amazon →