
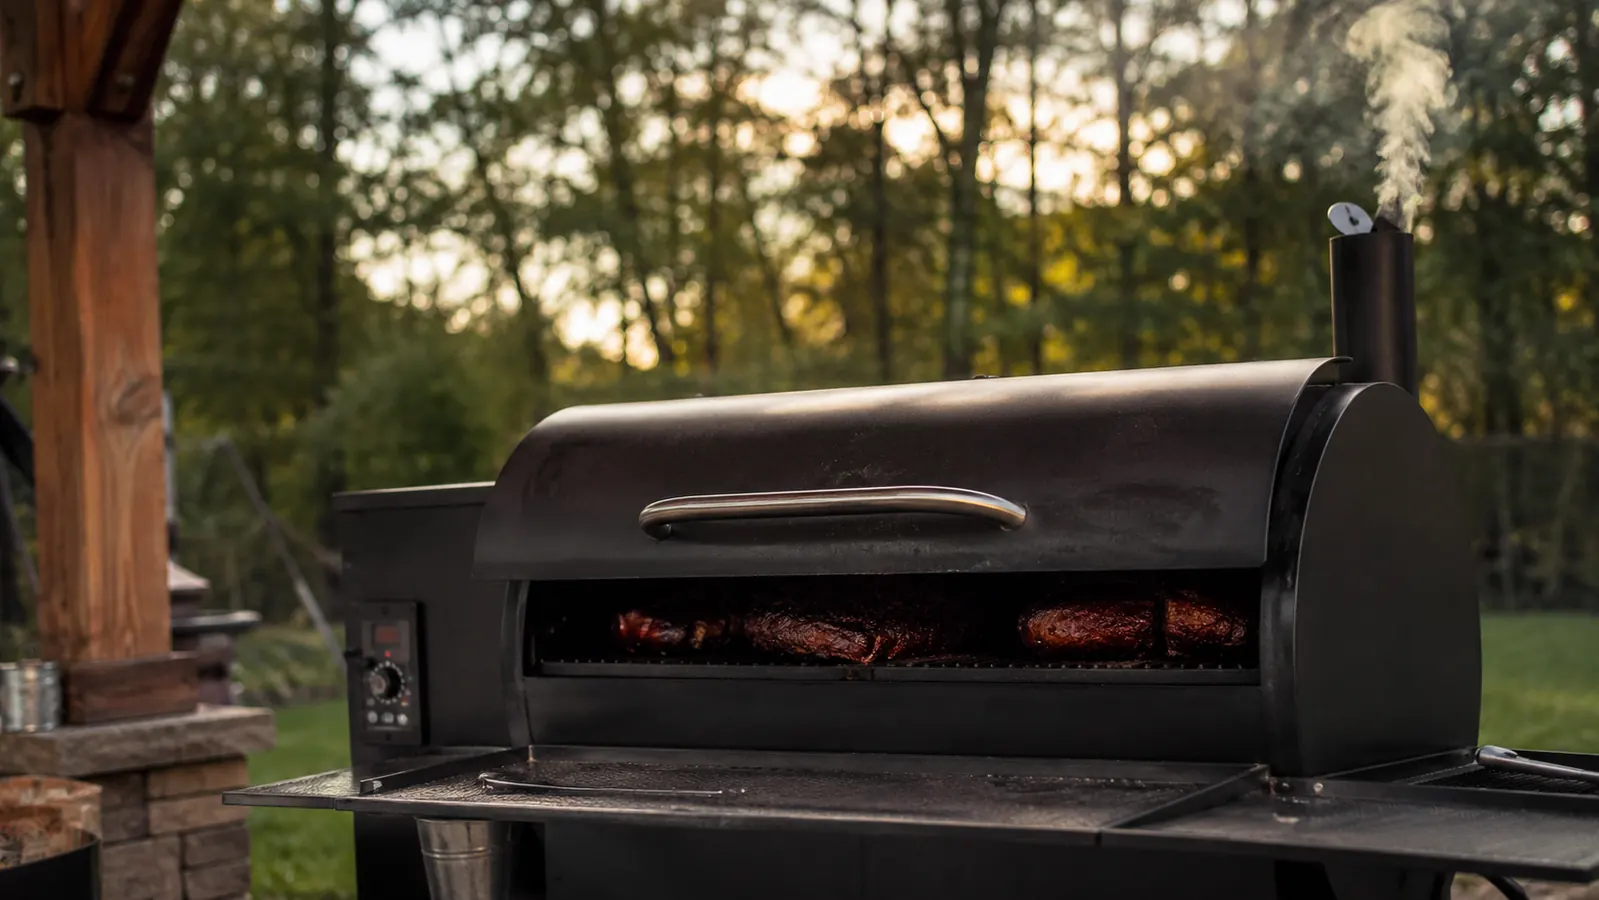
Back when I started smoking meat I played the guessing game. Poke the brisket with my thumb, crack the lid to eyeball the bark, pull the old instant thermometer out every half hour to stab the same hole twice. Every lid open cost me heat, and every guess cost me dinner now and then. The overnight cooks were the worst. I slept on the patio chair with one eye open, convinced I would wake up to a cremated pork butt.
The fix is not complicated. A wireless meat thermometer takes the guessing out of the long cook so you can close the lid, walk away, and know exactly where dinner stands. This guide walks you through using one start to finish, the way I have run my MEATER Plus for a full season on the pit. It is a straight tool that does not need to be overthought, so I keep this plain: where the probe goes, what to set, how to read the stall, and when to pull it.
Start the Season With a Thermometer That Sleeps For You
The MEATER Plus is the probe I have on every long cook. Two sensors, one for the meat and one for the pit air, all through the app. If you want to close the lid and stop hovering, this is the tool that lets you walk away.
Amazon Check Today's Price on Amazon →Step 1: Put the Probe in the Right Spot Before the Meat Goes On
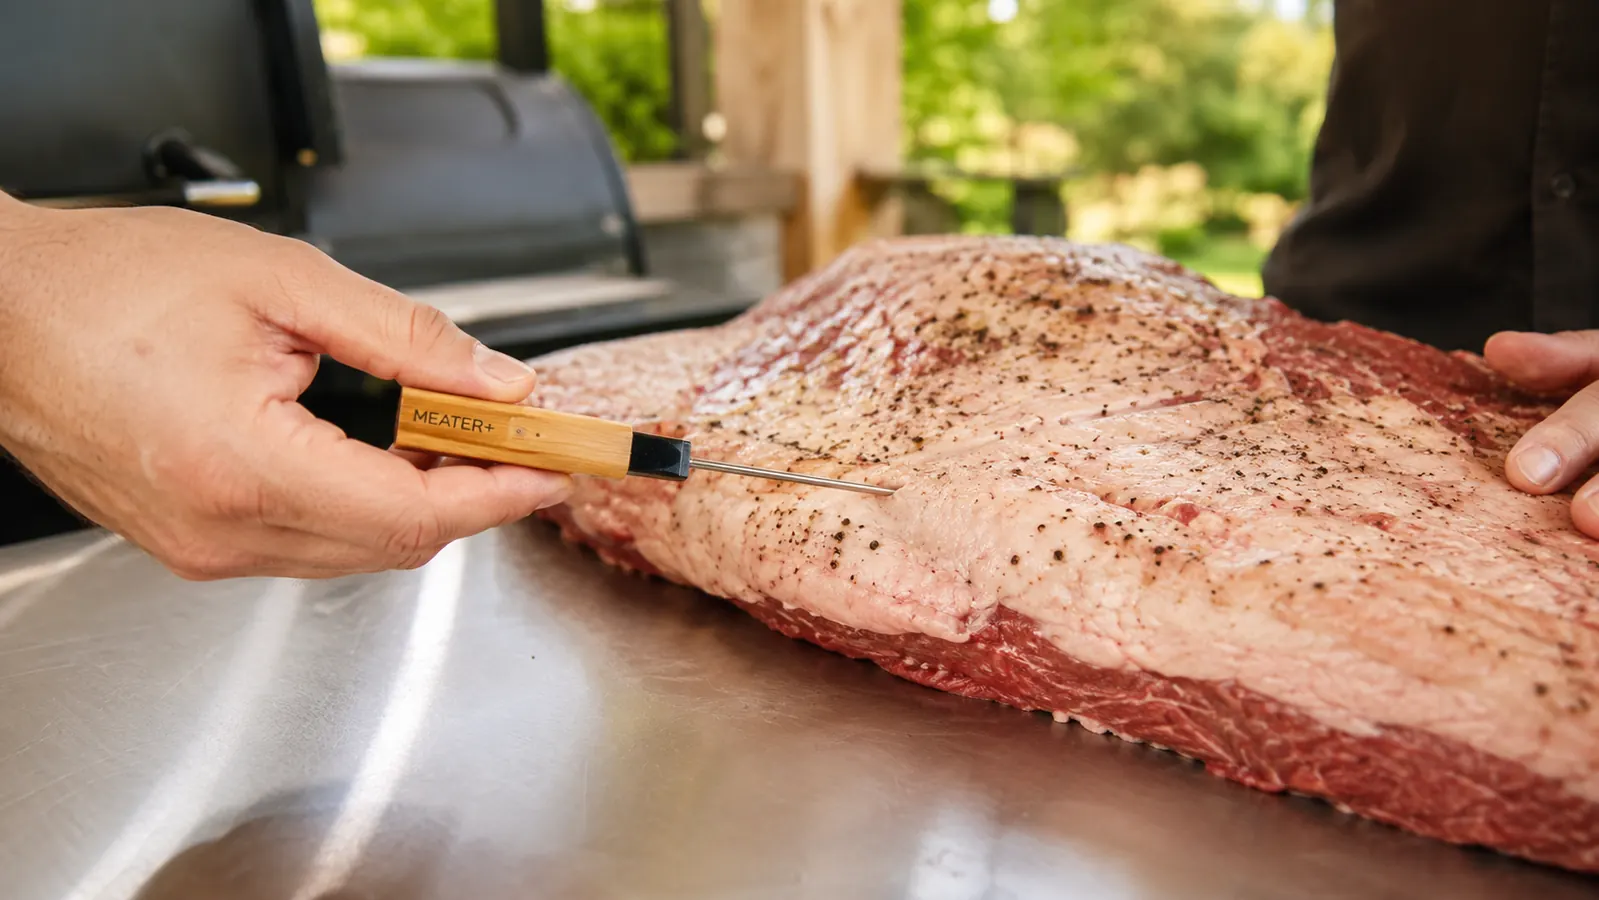
The single biggest screw-up people make is placement. A thermometer only reads the part of the meat it is touching, so if you push the probe in near the edge, you get the temperature of the edge, not the center. Every mistake I have seen from a beginner probe user traces right back to this one step.
For a brisket flat, aim the tip dead center of the thickest muscle, staying away from the fat cap and away from any pocket of fat in the middle, because fat reads hotter than meat and gives you a false early done. For a pork butt, seat the probe toward the center of the shoulder, not down into the bone. For a whole chicken or turkey, the breast is the reading to trust, so set the tip in the deepest part of the breast, not the thigh. The thigh lies to you, it hits done lower and the breast still lags behind.
A word on the probe itself. The MEATER probe is a short, slender stainless rod that slides in straight, no cable to get pinched in the door. That no-cable design is half the point for a smoker, since you are not propping a door open on a wire while smoke pours out around it. Seat it to the depth ring, make sure the upper section stays above the meat surface where it can read the pit air, and you are set before the meat ever touches a grate.
Do this part on the counter, not over the fire. I seat the probe in the meat while it is still on the cutting board, before it goes anywhere near the smoker, and I wipe the stem down with a clean cloth first. It sounds small, but the probe is going to sit inside the meat for hours, and starting clean keeps the reading honest and keeps you from dragging grease across your prep area. If you are testing the probe on a new roast and the meat comes straight out of the fridge, let it sit at room temp for twenty minutes first, a probe shoved into something still frozen gives you a number that is only true right at the tip.
Step 2: Set Your Target Temp Before You Close the Lid
Do not just start the app and stick it in and hope. Set the target temperature before you start your fire, while your hands are clean and your phone is dry. For most people this is the part that sounds obvious and gets skipped, then they are trying to fiddle with settings halfway through a midnight cook with grease on their fingers.
For pulled pork, target around 203 to 205 degrees and let the probe tell you when. For brisket, call it 203 as a floor, then trust the probe's feel over a hard number. For ribs, 195 to 200 in the thickest meat between the bones. Chicken and turkey, 160 in the breast and you are done, no reason to chase 170 and dry it out. Steak, I pull at 130 to 132 for a mid rare and let it rest up into the mid 130s.
The MEATER app carries these as presets, so you pick the cut and it sets the number for you. I still nudge mine to my own numbers, because I know my pit runs how it runs. The point of setting it first is so the probe is watching the target while you watch the fire, and nothing about that needs to be clever.
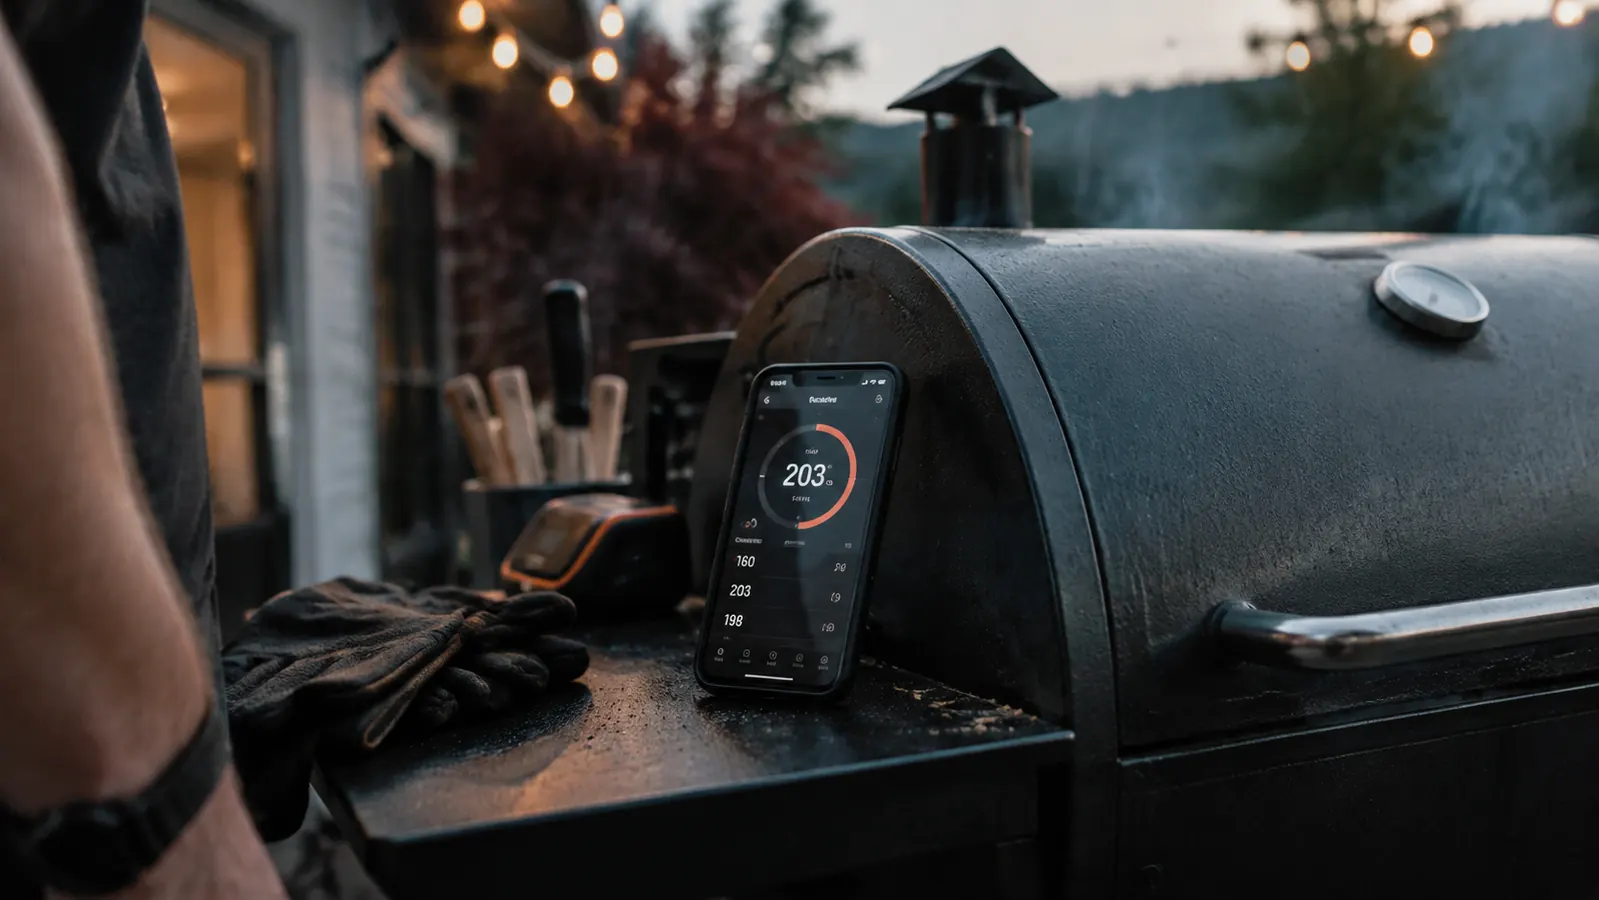
While you are in the app, set your cook time and your pit temperature too, not just the meat target. The probe's second sensor reads the ambient air inside the smoker, so it gives you a live pit temp without a second thermometer hanging off the grate. I set mine to warn me if the pit drifts more than a few degrees off, and that single alert has saved more than one chicken from a surge on a gusty afternoon. You are teaching the probe to watch both sides of the cook, and that is the whole reason it earns a spot on the rack.
Step 3: Keep the Receiver Within Range and the App Open
Here is where Bluetooth thermometers lose people, and I want to be straight about it because it is the honest limit of this tool. The MEATER Plus talks to your phone over Bluetooth out to about 165 feet in clear air. That is plenty for standing at the pit, but walls and metal will eat into it, and a full metal smoker sitting between the probe and your sofa is a real thing.
My rule is simple. The phone or the kitchen tablet that runs the app stays within line of sight of the pit, or close enough that the range holds. If I am parked on the couch two rooms away behind the fridge, I keep the charging tablet on the kitchen counter that faces the back door. It has never dropped a reading once I set it up that way. The app also logs the last reading and pings you on a missed connection, so a short dropout is not a disaster, it is just a nudge to get back in range.
One habit that saves a lot of grief: pair the probe to the phone before the meat goes on, not after the lid is closed. The app walks you through the setup while the probe is still in your hand and the grill is cold. It takes under a minute and beats swearing at a screen with smoke in your face.
Give the probe time to charge before you rely on it for an overnight cook. The battery lives in the probe, and it recharges when it sits in its cradle between cooks, so I make a habit of setting it to charge after every use and checking it reads full before I load the smoker. A dead probe at two in the morning teaches you a lesson you only need to learn once. Charge it right after you clean it and the only surprise left in the whole cook is how well dinner came out.
Step 4: Read the Stall Without Opening the Lid
Every long cook has the stall, and it is where the wireless probe earns its keep. That is the long flat stretch in the middle of a brisket or pork butt cook where the internal temp just sits there and refuses to climb, sometimes for a couple of hours. Beginners see it, think something is wrong, crack the lid to check, and throw away all their hard-won heat.
The probe makes the stall boring, which is exactly what you want. The meat temp line goes flat, the ambient line keeps humming along, and the app tells you nothing is wrong. So you let it ride. The stall is evaporative cooling doing its job, and the meat is not broken, it is working. If you feel like you need a hand, a wrap in butcher paper at the stall helps it push through, but that is a texture choice, not a rescue. With the probe, you know you can ride it out without touching the lid.
How do you know it is a stall and not a real problem? Watch the ambient line, not the meat line. In a true stall the pit air stays steady where you set it while the meat temp sits flat, that is normal and it will eventually push through. If the ambient temp is dropping on its own, you have a fire that is losing the battle, and you go deal with the fuel, not the meat. Nine times out of ten it is the honest stall and the probe is just telling you to be patient. That patience is the difference between a bark that renders down soft and one that comes out like a boot heel.
Step 5: Pull at the Number, Then Let It Rest Like It Owed You Money
Here is the finish, and it is the step people mess up more than any other. When the probe hits your target, you are not done, you are ready to be done. A brisket or a butt keeps cooking from carryover as it sits, climbing another five to ten degrees, so you pull it a touch early and let the rest finish the job.
Rest chicken or turkey ten or fifteen minutes so the juices settle back in, and rest a brisket a full hour, wrapped and toweled in a cooler. The probe does not tell you this, so I am telling you. The best thermometer in the world still cannot fix a cook that gets sliced the second it comes off. Give it the rest and you get the finish you were after all night.
When you finally slice, cut against the grain and let the probe be the last thing to come out. A lot of folks yank the probe the instant dinner pulls, and that leaves a small hot channel in the meat that the carryover heat tries to rush through. I leave the probe seated through the rest, check the temp one last time as the meat settles, and only then pull it and wipe it before it goes back in its cradle. That last reading, taken after the rest, tells you whether you actually landed in the window or came up a few degrees short.
What Else Helps
A second probe never hurts. The MEATER setup can run two probes through one app, so on the days I do a brisket and a rack of ribs together, each gets its own reading instead of me sharing one between them. It is the difference between cooking two things to two correct temps and just hoping the timing lines up.
Keep a written temp log the first few times if you want to learn your pit. Jot down what ambient you started at, what the probe read through the stall, and where you pulled. After three cooks you will have a crib sheet for that exact pit and that exact probe, and you will not need the notes anymore. That is the whole point of a tool like this, it lets your own instincts catch up to the reading instead of fighting it.
Take the five minutes to clean the probe after the cook, the same night. A warm, damp cloth wipes the stem down fine, and the charging cradle does the rest, and you do not want to set a greasy probe aside until Saturday and then scrub it with a knife. You do not need soap and you do not need to boil it, the stainless I have used for a full season has never held a stain when handled the same night. Consider it part of the ritual, it is the same habit as oiling the grates, and it keeps the tool honest for the next time you need it.
The wireless probe does not make the meat tender, it makes you sure enough to leave it alone, and leaving it alone is what got me the best brisket I have pulled off this pit in ten years.
Give Yourself a Clean Finish This Season
A wireless thermometer will not smoke your meat for you, but it will let you walk away and know exactly when to come back. The MEATER Plus is the one I trust for every long cook on my pit.
Amazon Check Today's Price on Amazon →