
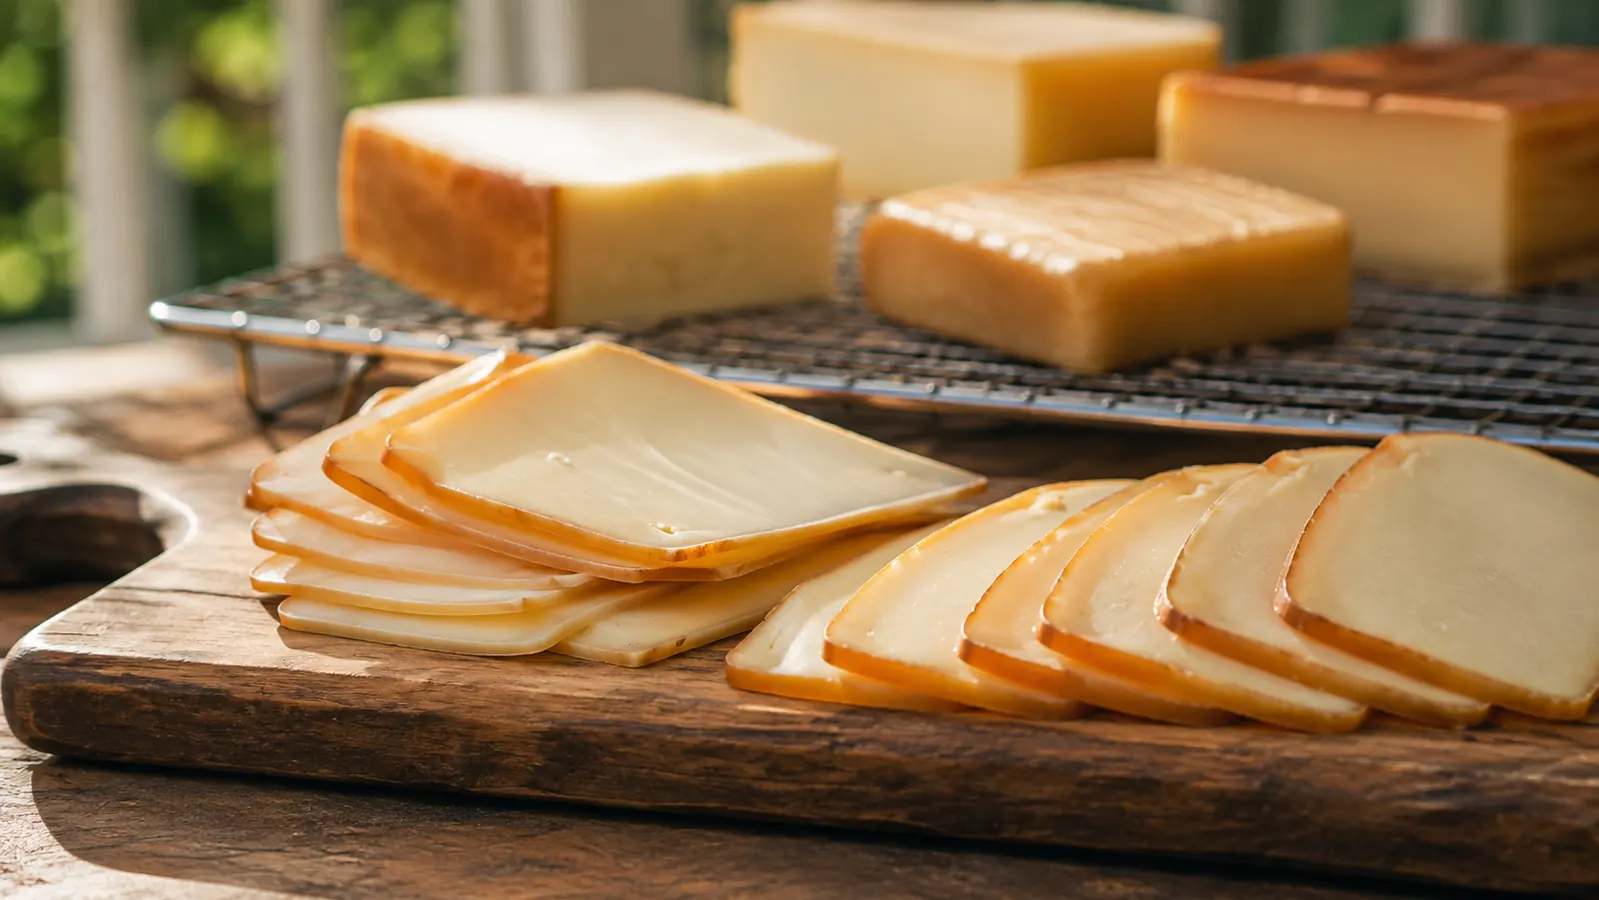
I ruined my first batch of cold smoked cheese the way just about everyone does. I loaded a chimney starter with lump charcoal and soaked wood chips, let it glow, and then steamed a block of cheddar over way too much heat and way too much smoke for three hours. It came out soft, bitter, and tasting like the bottom of an ashtray. My neighbor Bill, who runs a Traeger, told me to stop all that and buy a LIZZQ smoke tube instead. One try later I had cheese I actually wanted to hand out.
Here is the whole idea in one sentence. Cold smoking is about the air temperature around the cheese, not the grill running hot, and cheese takes a light, clean smoke at well under 90 degrees, not a heavy hour of strong wood. A smoke tube gives you exactly that on any grill or even a cardboard box you already own, and it takes about twelve inches of stainless steel to do it.
You need three things and nothing fancy: the smoke tube, a bag of pellets, and a way to keep the air cool for a couple of hours. That is it. No dedicated cold smoker, no chip box, no thermometer you have to wire into your phone. If you already grill on gas, you own the cooker. The tube is the only piece you are missing.
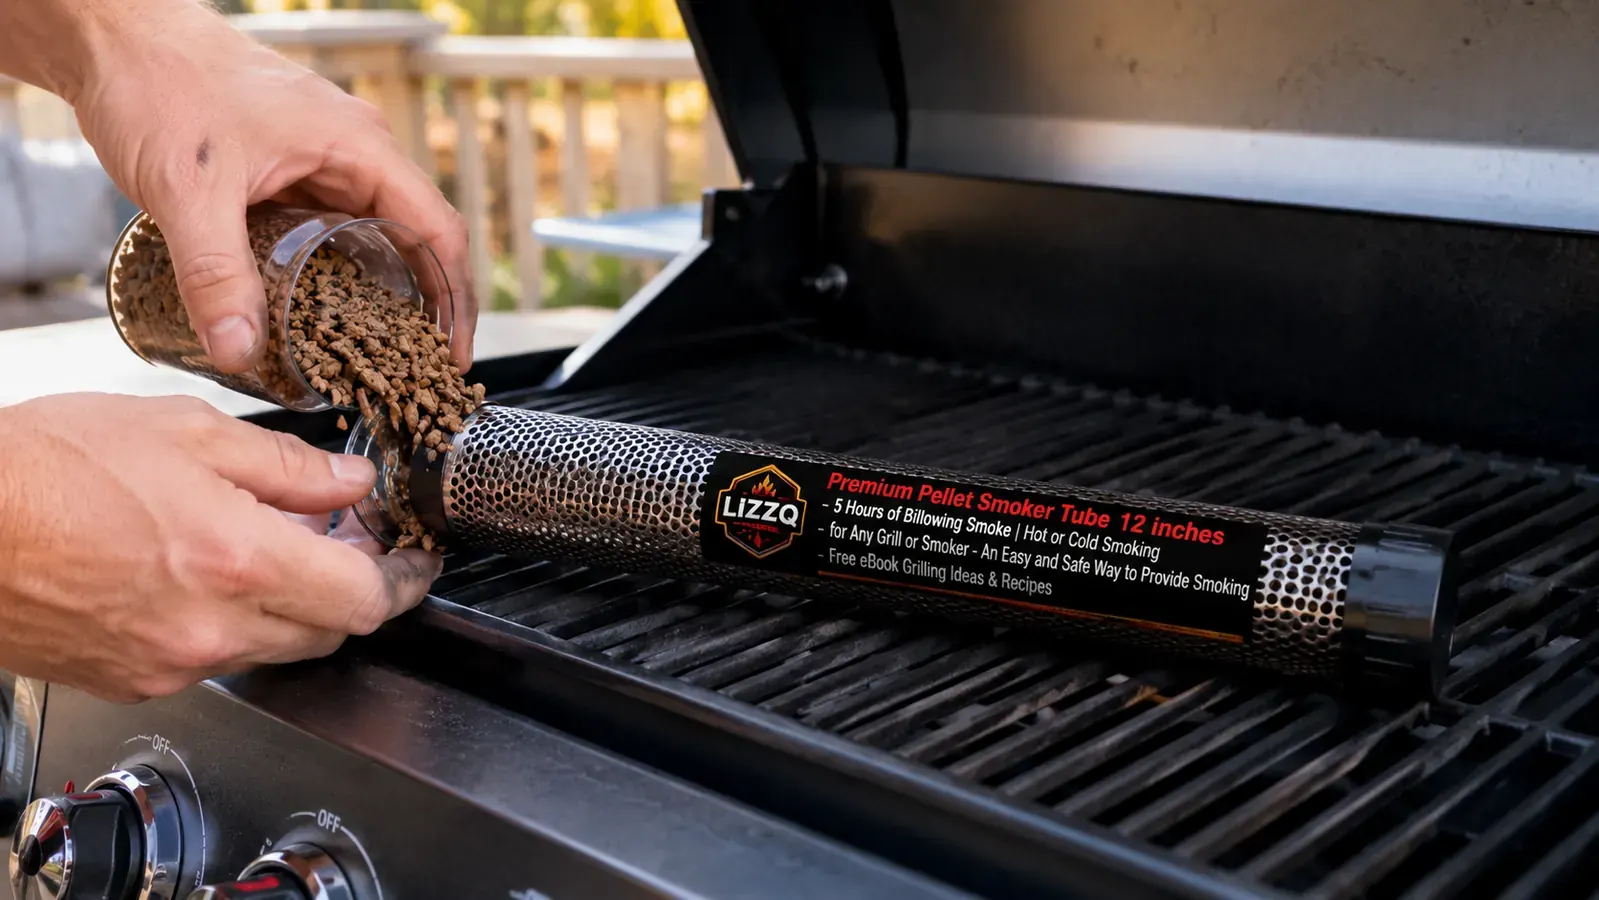
The smoke tube that handles a whole cheese smoke on one light
You do not need a dedicated cold smoker for this. The LIZZQ 12-inch pellet tube smolders for hours on a single fill and costs a fraction of a cold-smoking rig. It is the piece I reach for every cheese weekend.
Amazon Check Today's Price on Amazon →Step 1: Get the Cheese Ready and Dry
Pull the cheese out of the fridge about an hour before you smoke it. Cold cheese sweats when it hits warm air, and a damp, weepy surface grabs onto bitter soot and holds it. I wipe each block dry with a paper towel, then set them on a wire rack on the counter, unwrapped, so air can move all the way around every side while they come up to room temperature.
You do not need oil, you do not need a rub, and you definitely do not need a fancy cheese press. Keep it simple. Firm cheeses take smoke the best, so start with aged cheddar, gouda, swiss, or pepper jack. Soft cheese like mozzarella or brie just sweats and slumps, so leave those for a first attempt and graduate to them once you have the timing down.
One more prep note: cut big blocks down to about the size of your palm if you want more smoke flavor per bite. Smaller pieces have more surface area for the same amount of cheese, which means more smoke ring and less waiting. I cut a two-pound block of cheddar into six or so fist-sized chunks for a batch.
Step 2: Fill the Smoke Tube and Light It
Fill the LIZZQ tube about half to two-thirds full. For cheese you want a gentle smoke, not the full five hours a packed tube will run, so do not fill it to the brim. Pack the pellets in snug so they stay lit through the whole cook, but leave the top inch or so of the tube empty. That keeps the burn steady and reduces the chance of a flare.
Light one end with a small butane torch or a long grill lighter and let it burn for two or three minutes until you see a real orange flame. Blow it out. It should settle into a slow smolder that rolls a clean, thin white smoke. If it flares, spits, or smells acrid, empty it and repack a little looser, then try the light again.
While it warms up, set the tube somewhere safe on the grill grate away from anything flammable. The outside of the tube gets hot enough to burn a hand, so let it sit where you will not brush against it. Give it five minutes to get into a good rhythm before the cheese goes anywhere near it.
Step 3: Set Up a Cold Space Under 90 Degrees
This is the step where most people wreck the whole batch by turning on heat. You want the cooker to hold the smoke, not the heat. On a gas grill I either leave every burner off entirely or set the lowest one so the dial barely clicks on, the tube on the grate, the cheese on a rack on the other side, and the lid closed.
The whole trick is keeping the ambient air under 90 degrees so the cheese holds its shape and does not sweat its oils out. On a hot afternoon that is a losing battle outdoors, so I plan this for a cooler day, run it first thing in the morning, or move the whole setup into a vented cardboard box or a cheap cooler with the cheese on a rack and the tube at the bottom. The cheese should feel cool to the touch the entire time it is smoking.
If you do not want to burn propane at all, the cheapest rig I have used is a cardboard box about the size of a medium shipping crate with a couple of holes cut in the lid for airflow. Set the tube on an old brick at the bottom, put the cheese on a rack on top, and close it up. It is ugly and it works, and it costs nothing beyond the tube and the pellets.
If you have a probe thermometer, drop the tip in there just to watch the air temp for the first batch. You are not chasing a target for the cheese, you just want to make sure you are not accidentally melting it. Once you know your rig stays cool, you will not need the probe again, and the routine takes about four minutes of actual work.
Step 4: Smoke It for an Hour, Maybe Two
In goes the tube, the cheese on a rack above or beside it, lid down, and then you walk away. For cheddar I pull it at about an hour. For gouda and swiss I push closer to 90 minutes or two hours. The cheese comes out looking pale gold and smelling powerfully of smoke, and that smell is the part you have to trust and ignore.
You will know the tube is doing its job because you can see a thin layer of smoke rolling around inside the lid even when the grill is completely cold. If you open it and see nothing, the tube went out or you packed it too tight, so pull the cheese out, relight the tube, and start over. Better to catch it in the first ten minutes than to find you smoked nothing for an hour.
Do not chase more smoke, because cheese turns bitter fast and it keeps on developing flavor long after it leaves the tube. If you open the lid and think the batch already smells like too much, you are right, and it will only get stronger in the fridge. Light smoke and a short time beat a heavy hour every single time. This is the discipline part of the whole cook.
Step 5: Let It Rest, Then Wrap and Age
This is the step almost everyone skips, and it is why most homemade cold smoked cheese tastes harsh. Straight off the smoke, that cheese is raw and sharp, like standing downwind of a campfire. Put the blocks back on the rack, uncovered, in the fridge for 24 to 48 hours. That rest lets the bitter, acrid smoke fade and the good flavor sink into the cheese.
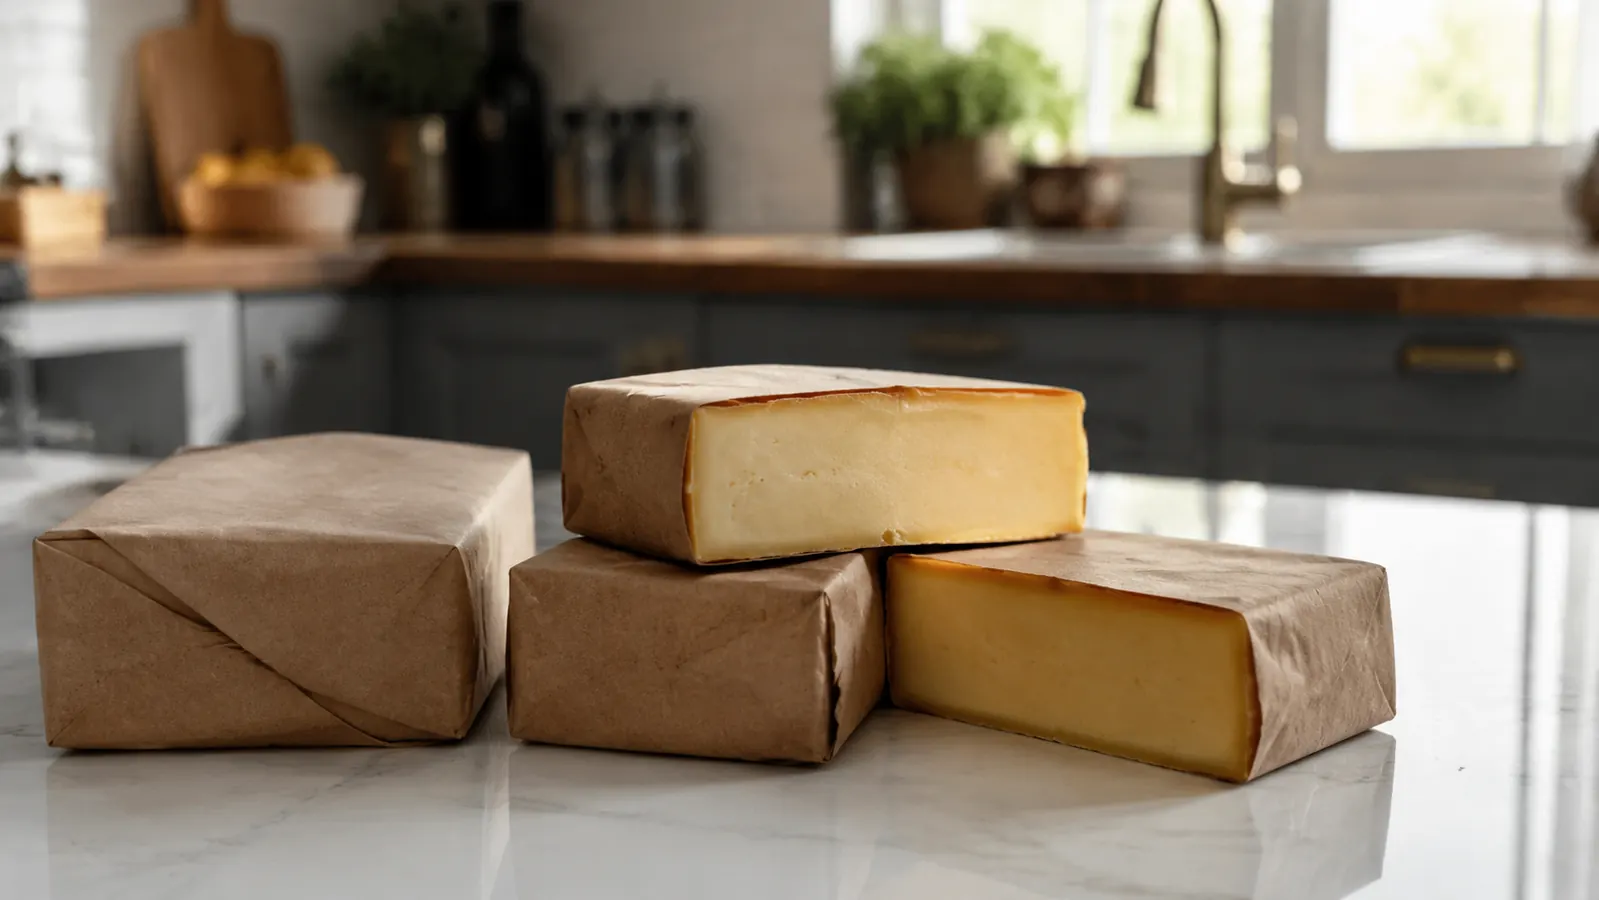
After the rest, wrap each block in butcher paper or vacuum seal it and give it at least a week in the fridge if you can stand to wait. That is when cold smoked cheese is at its best, mellow and deep instead of smoky and sharp. I vacuum seal mine and it keeps for a month or more without trouble, and it freezes cleanly too, so a single batch can stretch a long way.
What Else Helps
The smoke tube is the one tool that makes cold smoking cheese cheap and repeatable, but a couple of small things make the results more reliable. A basic thermometer or spare probe that watches the air temp inside the box saves you from melting a batch on a warm day. And the wood matters: apple and cherry are the safest choices for cheese, mild and a little sweet, while hickory can turn soapy and harsh if you leave it running too long. Start with those and you will not second-guess the flavor.
The cleanup is maybe five minutes. When the tube burns out or you are done for the day, dump the loose ash into the trash, tap the tube on the edge of the grate to knock out what stays, and give it a rinse in the sink. After a few batches it takes on a dark seasoning that is normal and expected. Do not scrub it back to shiny, it will keep smoking just fine.
Cold Smoking Is a Slow, Cheap Habit
What I like about this cook is that nothing about it is fast or flashy, and that is the point. An hour of smoke, two days of rest, a week of waiting. Cold smoked cheese rewards patience the same way a brisket does, and it costs almost nothing to try. Once you have made one batch you will understand exactly why the cold smoke crowd talks about it like a hobby instead of a recipe.
The tube earns its keep year round too. When it is not cold smoking cheese, it puts real smoke into a gas grill for burgers, wings, and even a small pork butt. It is one of the few pieces of gear I own that gets cheaper to use the more I use it, because a bag of hardwood pellets lasts a long time when you only smoke cheese with it.
One hour of smoke, two days of rest. That rest is what turns harsh smoke into flavor, and it is the step everyone skips.
The Bottom Line
Cold smoking cheese with a LIZZQ smoke tube comes down to five small jobs: dry the cheese, light the tube light, keep the air cool, smoke it for an hour or two, then let it rest and age. None of them are hard, and the first batch tells you everything about your own rig. If I were showing you this at my pit, I would hand you the tube, watch you do one batch, and then leave you to it.
One light, a few hours of smoke, and cheese worth waiting a week for
The LIZZQ 12-inch smoke tube makes cold smoking as simple as the process above, and it doubles as the best smoke improver a gas grill can get. Grab one and do a batch this weekend.
Amazon Check Today's Price on Amazon →